如何自建Newsletter服务
由于我原来的54321周刊部署在Substack平台, 但该平台国内访问不了, 而且发送的邮件附加了点击跟踪, 导致所有链接都需要从Substack服务器进行跳转, 没有科学上网的话根本访问不了, 体验很差, 所以有必要从Substack搬出来了.
TLDR: 主页: 以Github为主, 类似阮一峰的科技周刊, 可以在cloudflare部署静态网页 RSS: 将内容发布到Github Release, 会有自动生成的RSS, 只要在release网址最后加.atom 邮件服务: 在Pikapods部署Listmonk, 并使用AWS SES服务, 非常便宜
正文:
使用Github Release发布
我的周刊从一开始就同步上传到Github上, 所以这次主要是解决Github Release的设置. 从原来的直接上传到docs文件夹下改为使用Github Release来发布, 体验更好: 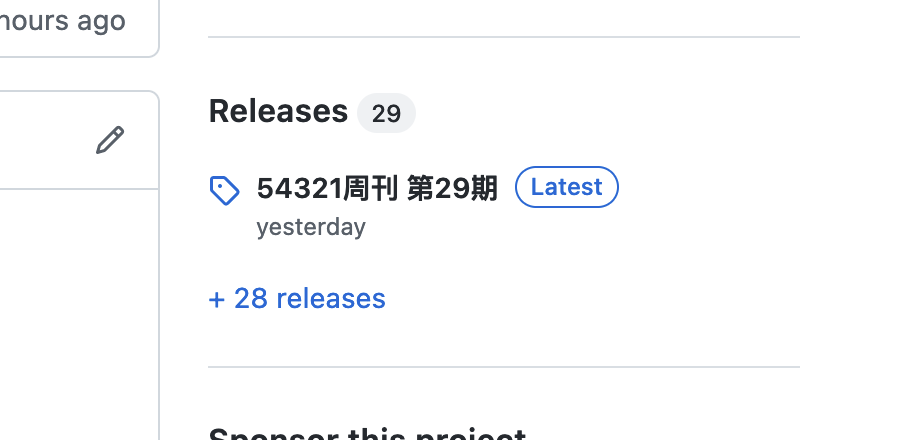 而且release的标签可以作为id进行短网址跳转(后面会设置): 访问 54321.versun.me/p/29 自动跳转到 github.com/versun/54321-Weekly/releases/tag/29
同时, 我设置了一个Github Action, 可以在每次Releases新的内容后, 自动将内容保存为md文件并push到docs文件下: 在库的根目录下创建 .github/workflows/create-release-note.yml
name: Create Release Note
on:
  workflow_dispatch:
  release:
    types: [published]
jobs:
  create-release-note:
    runs-on: ubuntu-latest
    steps:
      - name: Checkout repository
        uses: actions/checkout@v3
        with:
          ref: main
      - name: Create release note
        run: |
          echo "# ${{ github.event.release.name }}" > docs/${{ github.event.release.tag_name }}.md
          echo "${{ github.event.release.body }}" >> docs/${{ github.event.release.tag_name }}.md
      - name: Commit
        uses: EndBug/add-and-commit@v9
        with:
          message: "Release ${{ github.event.release.tag_name }}"
          add: "docs/*.md"
        env:
          GITHUB_TOKEN: ${{ secrets.GITHUB_TOKEN }}
push到github上后就可以了, 每次有新的release发布,就会自动运行,保存内容到docs文件夹下(需先创建好docs文件夹)
设置静态页面
本人比较懒, 不想折腾Jekyll等工具, 所以直接使用Readme.md做为主页, 部署到Cloudflare上, 确保国内能访问, 这次使用worker而不用pages, 步骤如下: ![][]([f004.backblazeb2.com/file/blog...](https://f004.backblazeb2.com/file/blog-versun-me/img/2023)–07–12 1.png) 在Workers & Pages新建一个application -> worker 先不添加代码, 直接部署, 然后点击刚建的worker, 选择Quick edit, 修改并粘贴下面的代码
async function handleRequest(request) {
  const url = new URL(request.url)
  const path = url.pathname
  const user = 'versun' //Github用户名
  const repo = '54321-Weekly' //仓库名
if (!user || !repo) {
return new Response(‘Invalid URL format.')
}
try {
const response = await fetch([raw.githubusercontent.com/$](https://raw.githubusercontent.com/$){user}/${repo}/main/README.md)
const text = await response.text()
const markdown = await renderMarkdown(text)
const modifiedHtml = addSubscriptionForm(markdown)
return new Response(modifiedHtml, {
headers: {
‘Content-Type’: ‘text/html; charset=utf-8’,
‘Cache-Control’: ‘public, max-age=3600’
}
})
} catch (error) {
return new Response(Error fetching README.md for ${user}/${repo}: ${error}, { status: 500 })
}
}
//处理markdown内容
async function renderMarkdown(markdown) {
const response = await fetch('api.github.com/markdown’… {
method: ‘POST’,
headers: {
‘Content-Type’: ‘application/json’,
‘User-Agent’: ‘54321-Weekly’ //随便写
},
body: JSON.stringify({
text: markdown,
mode: ‘gfm’,
context: ‘gollum/gollum’
})
})
const html = await response.text()
return html
}
addEventListener(‘fetch’, event => {
const url = new URL(event.request.url)
//设置跳转,54321.versun.me/feed 跳转到 repo release的rss
if (url.hostname === ‘54321.versun.me’) {
if (url.pathname.startsWith('/feed')) {
event.respondWith(Response.redirect('github.com/versun/54… 301))
return
}
// 54321.versun.me/p/number 跳转到 repo release的tag上
if (url.pathname.startsWith('/p/')) {
const tag = url.pathname.split('/p/')[1]
event.respondWith(Response.redirect([github.com/versun/54...](https://github.com/versun/54321-Weekly/releases/tag/$){tag}, 301))
return
}
}
event.respondWith(handleRequest(event.request))
})
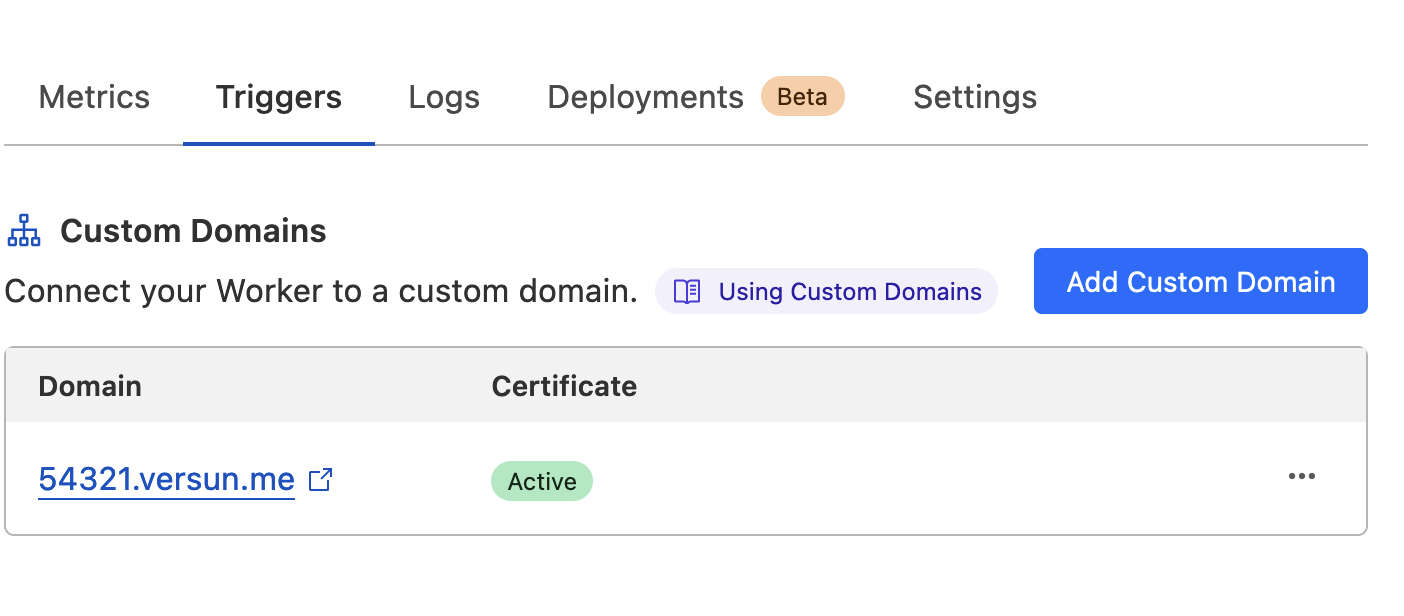
保存部署后, 点击Triggers, 添加自定义域名:
 完成, 效果:
 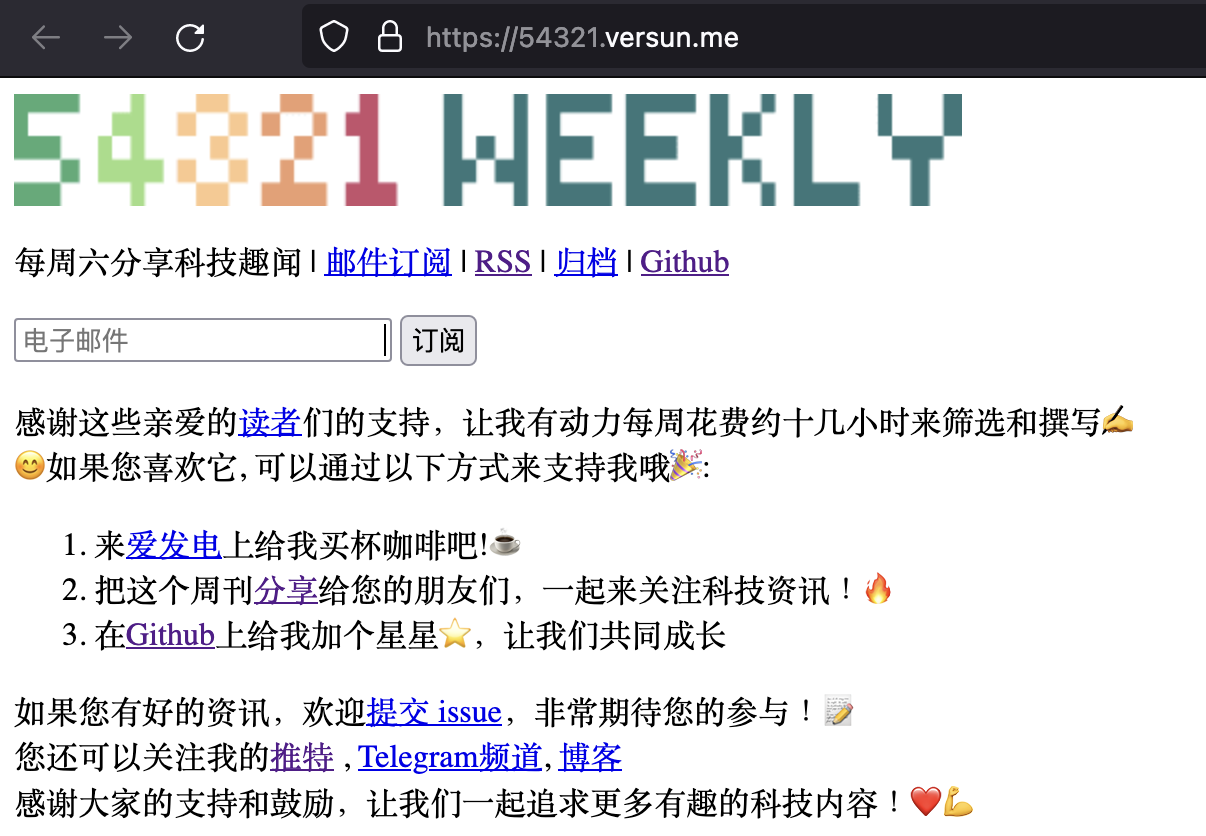 虽然没样式很丑, 但能用…
部署Newsletter管理后台Listmonk
不熟悉Listmonk的, 可以去官网了解下, 开源免费, 很好用, 也提供了Newsletter的landing page和rss, 但2.4版本文章的url没法自定义, 全都是很长的uuid格式, rss无法全文输出, 所以这次不做考虑, 可以在后台关掉. 可以使用Railway或者PikaPods一键部署, 我选择PikaPods, 很方便, 一个月只要1.4美金即可. 具体listmonk设置可以参考官方文档, 没什么难度
申请开通AWS SES API
在创建AWS账户后, 可以开通SES服务, 但刚开通只会给你sandbox测试的权限, 还需要申请product权限. 申请方法很简单, 在ses管理后台首页, 它会提示你让你申请, 点击进去后, 用因为表面你的理由, 注意: 一定要说明每月每日的发送量是多少, 然后为什么需要该服务, 再加上你的网址就可以了, 可以参考下面的:
I am writing to apply for AWS SES services to help me with my weekly newsletter. Currently, I have around 50 subscribers, and my monthly email volume is less than 500.
My blog: notes.versun.me
My Newsletter: 54321.versun.me
I believe that AWS SES would be the perfect solution for my needs, as it provides a reliable and cost-effective way to send emails to my subscribers.
I am impressed by the features that AWS SES offers, such as its ability to track email deliverability and provide detailed analytics.
Thank you for your time and consideration. I look forward to hearing back from you soon.
24小时左右就能通过了.
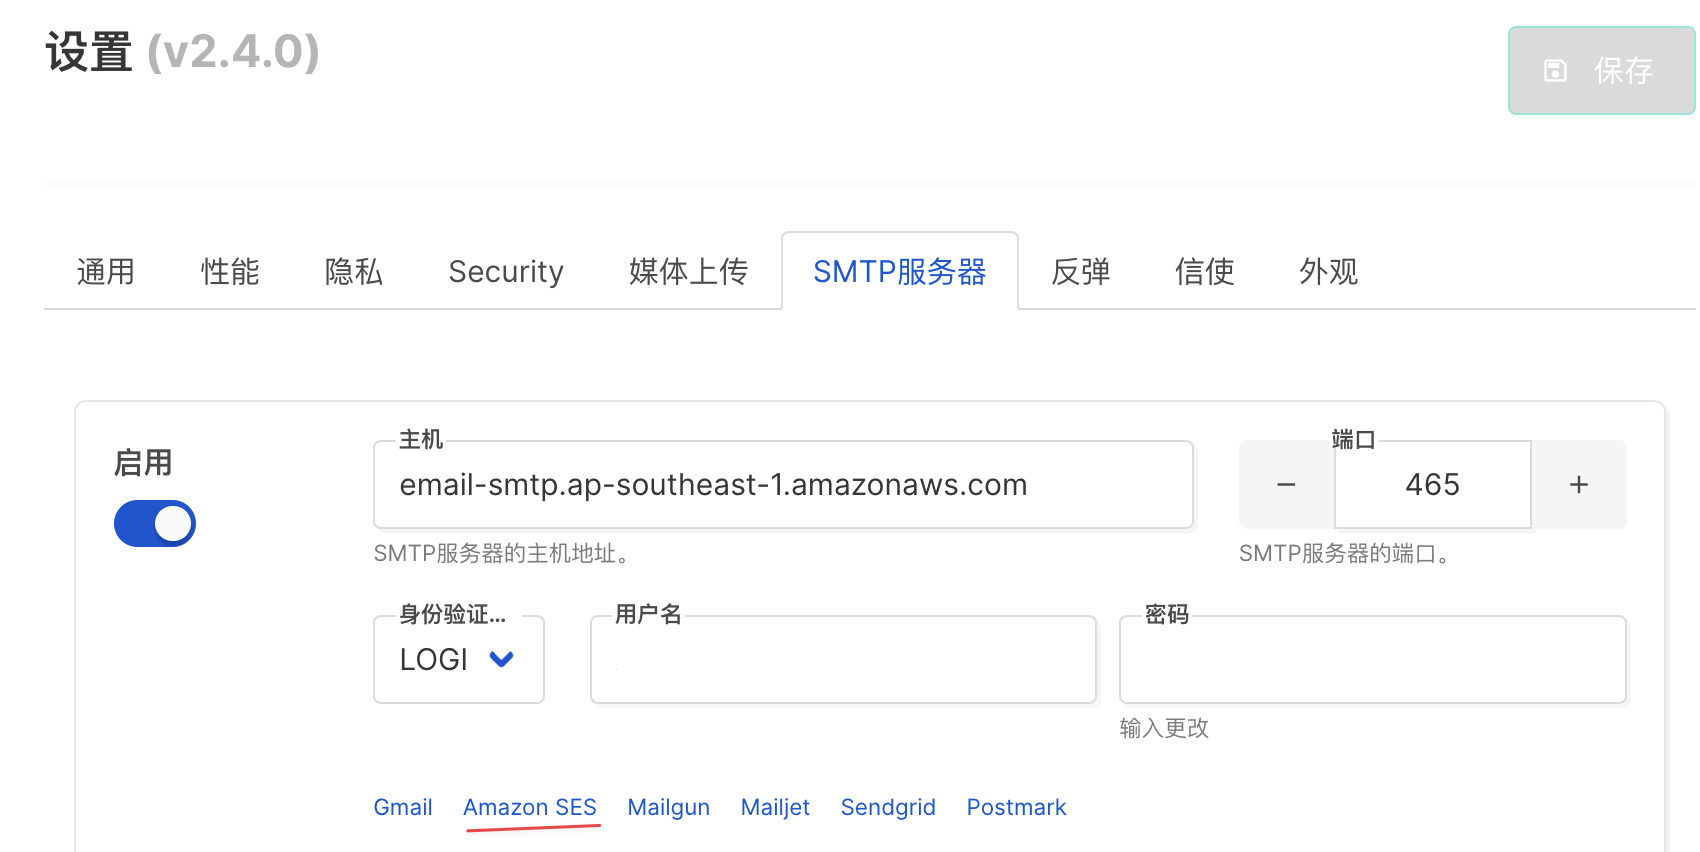
通过后再SES后台, 点击SMTP settings
有我们需要的SMTP endpoint url, 添加到listmonk后台,
然后点击Create SMTP credentials, 生成用户名和密码, 同样添加到listmonk后台,选择login模式即可
以上就是全部流程啦.